
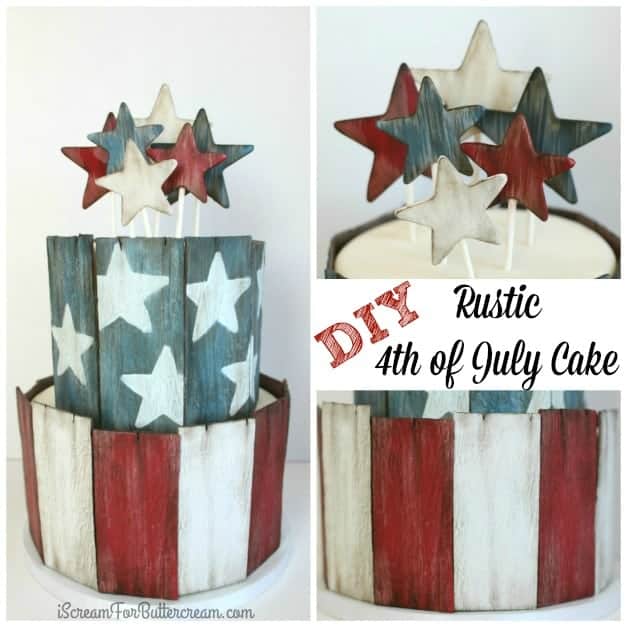
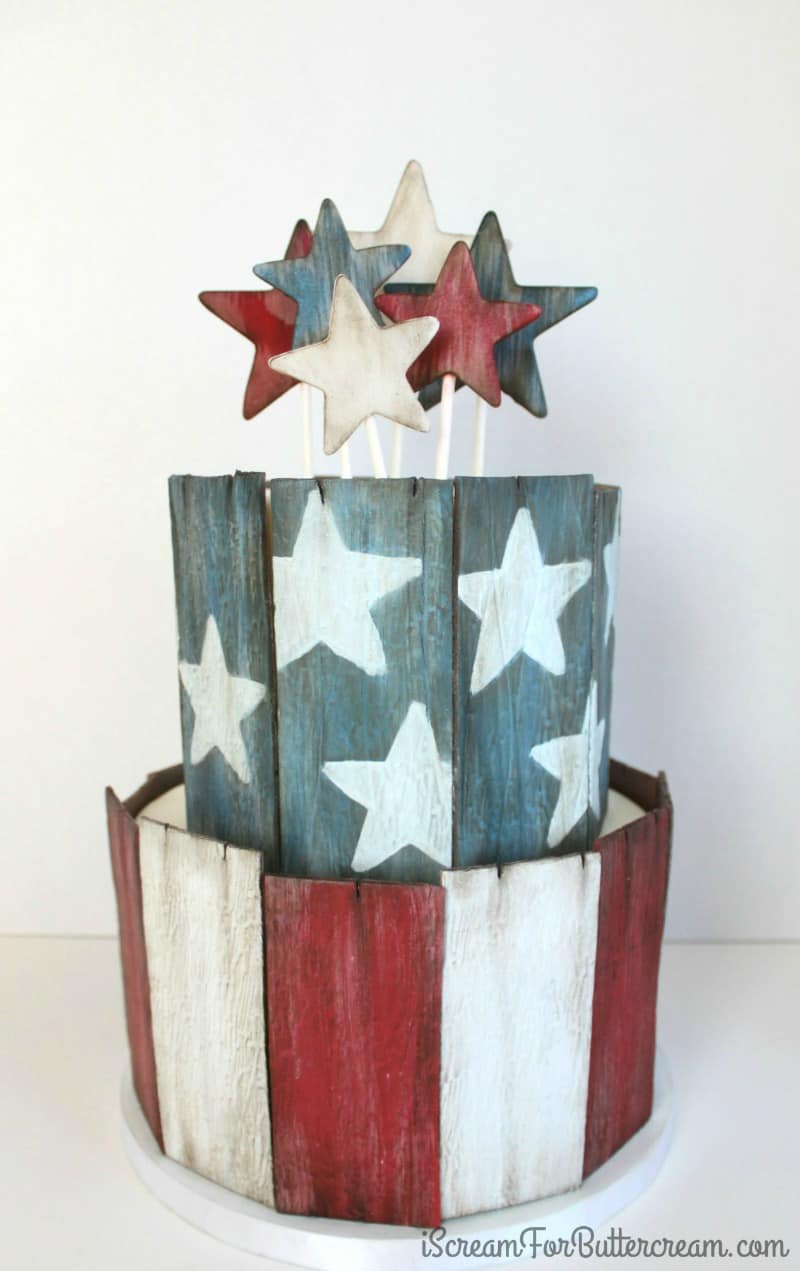
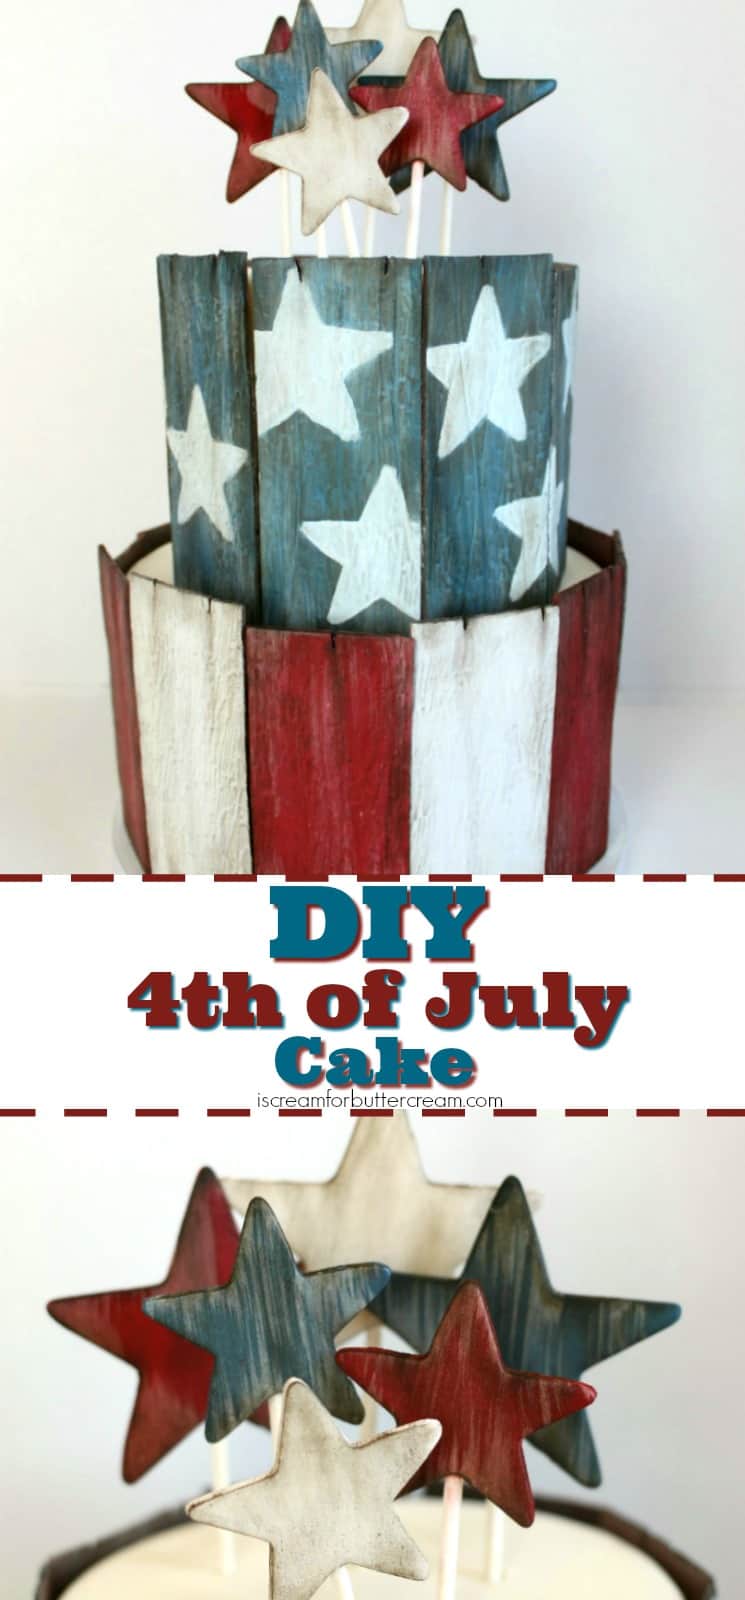
This DIY Rustic 4th of July cake was so fun to make and oh how I love doing rustic cakes. It’s fun to texture and paint fondant and morph it into something that looks old and weathered and full of character.
This cake really reminds me of home. I grew up in the country and my Mom was very much into the painted wood country crafts. We had them displayed all over the house. Making this cake, sort of brought me home again.
This cake isn’t hard to make. In fact, if you are still working on your fondant skills, this one is a great one to practice on. The wood planks go on piece by piece, so you don’t have to stress out covering your cake with fondant perfectly…it’ll be covered by the wood planks!
This post contains affiliate links. As an Amazon Associate, I earn from qualifying purchases. You can see my policies linked in the website footer.
So, here we go…
Supplies you’ll need for the DIY Rustic 4th of July Cake are:
Fondant (it’s great if you have some Tylose to add so it’ll dry a little harder, but if not, no worries) You’ll want red, white, blue and dark brown fondant.
Blue, Red, Brown gel food coloring
Blue, Red, White and Cocoa, Brown edible petal dusts (and if you don’t have the brown petal dust, you can literally just use cocoa powder.)
Fondant Roller (also a pasta attachment for your mixer if you have it helps)
Pizza Cutter or knife
Star Cutters
Popsicle Sticks
Lemon extract or vodka (for mixing with petal dusts, not for partying…well, unless you’ve had a REALLY bad day)
Paint brushes (food use only)
Small fondant cutting wheel
Woodgrain impression mat (I got mine from Amazon. It’s this Makin’s Clay texture sheet set and they are really cheap.)
Oh,’ll also need some cake. Here are my two favorites: Vanilla Bean Cake and Chocolate Butter Cake
Alright, let’s get started.
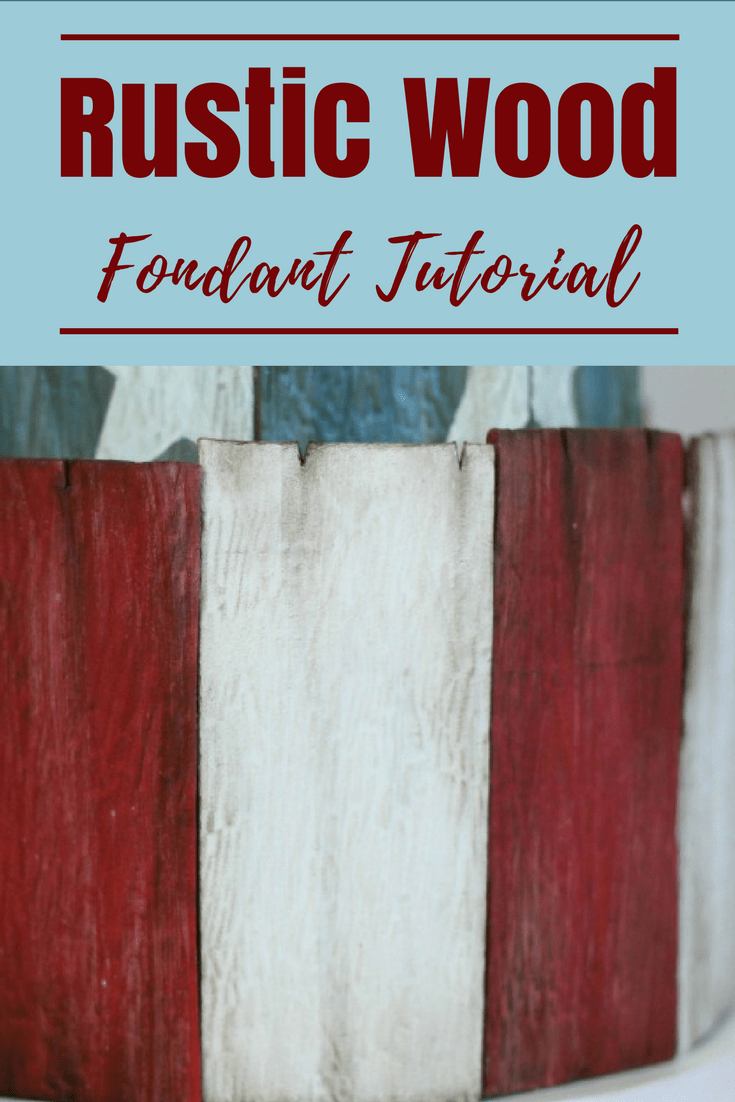
Making the Wood Planks:
You want to start on the wooden planks well in advance. They take some time to dry and distress. You’ll need them dry enough, so they’ll stand up on the cake.
To start, we’ll work on the wood planks. You’ll want to mix up some red, blue and brown fondant. Roll out the brown fondant. I used a zero on my pasta machine. The brown still needs a little thickness to it, since we’ll be texturing it.
You’ll want to cut them into rectangles. I made mine about 2 ½ wide and about 5 ½ to 6 inches high. Don’t worry about getting them cut perfectly, you’ll be trimming them later. You’ll want a bunch of the brown rectangles, because they will be the base of all of the wooden planks…red, white and blue.
You’ll want to measure the circumference of your bottom tier and top tier separately and figure out how many planks you’ll need to go around each tier and how wide you want them. If you’ve got a fabric measuring tape, you can just measure around the cake, but if you don’t, you can just take the diameter of the cake and multiply by pi. (And you thought you’d never use that when you graduated, right?) If you go that route, you’ll want to add a bit…maybe a half inch to your measurement to take into account the thickness of the icing and fondant that’ll be covering the cake. You’ll want to divide that number between the width that you want your planks, so you’ll know how many to make. The width really depends on the look you’re going for…you may want wider or thinner planks than I used.
After you’ve cut your rectangles, set them aside. You might want to cover them with saran wrap, so they don’t dry out too much.

First, we’ll work on the white wooden planks. Roll out your white fondant very very thin. I’m talking almost see-through thin. You want it that thin because it needs to dry out quicker than the brown.

Lay out your thin strips of white fondant and brush with a very small amount of water or spray with a light mist of water. Lay your pieces of brown fondant on top of the white and trim around. I like to use a mini pizza cutter because it doesn’t pull the fondant like a knife does.

After you’ve trimmed the white even with the brown, turn them over and set them aside to dry. I use a marshmallow based fondant, so I let mine sit out for several hours while I worked on the other colors.

Now you’ll want to go through this same process with the red and the blue and set them aside to dry a bit, but not completely.
Once the top layer feels a little dry, you’ll want to get out your petal dusts. You’ll want the corresponding color for each color of planks. I’ll demonstrate on the red planks.
You want to mix your red petal dust with a bit of vodka or lemon extract. You don’t want it really watered down. Your top layer of the plank is really thin and you want the color to be a bit brighter.
Once you’ve mixed your petal dust, brush it over your wooden plank haphazardly. You want the brush strokes to show. You might need to go over some areas a few times. The less perfect it is, the better. Do each plank this way with its corresponding color and set aside to let the ‘paint’ dry. It shouldn’t take long. By the time you’re done with the last plank, the first planks will be ready for the next step.
Now you’ll want to mix up some white petal dust with lemon extract or vodka. You want this mixture pretty thick. You’re just going to make several streaks from the top going down and from the bottom edge going up. (The red ones kinda look like bacon at this point, right?)

When the dust has dried, place your woodgrain impression mat over the wooden planks and roll your fondant roller over to impress the pattern. Make sure your lines are running the correct way on the planks. If you’ve let your pieces dry a bit, it’ll give a nice impression of the woodgrain and also cause a little cracking in the top layer, which is what you want.

Then you’ll take your small fondant cutting wheel and make some large grooves in your pieces.

After you’ve textured each plank, you’ll want to take a straight edge or ruler and cut each side to the width you want them and the length. I made mine different heights to look more rustic. Now just line them up like you’ll want them on the cake. So, all the blue in a row and then the alternating the red and white for second tier, like this:

Now, we’ll make some cuts on the top of each plank to give them that cracked weathered look. I used a knife to cut little V’s in random areas.

Now comes the fun part…the shading. We’re just working on the red and white planks right now…we’ll work on the blue ones later (there’s a step we’ll have to do to those first). This is what REALLY brings out that rustic look. Take your cocoa brown petal dust (or your cocoa powder) and brush into the cut outs you just made a the top of each plank. Brush it down, so it looks like it’s fading down into the wood. Brush the brown dust in other random places on your planks and then darken the edges (top, bottom and sides) to give them shadowing.

Now onto the blue planks. After you’ve textured them like the red and white planks and cut the little V’s into the top, you’ll want to paint the stars on them. Mix up your white petal dust with lemon extract. You want it a little on the thick side. Put your star cutter over the panel and hold in place while you paint the white dust inside. Do this in random spots and some with only part of the star on the plank. You may have to do several coats of white. It’s okay if you paint outside the lines a little here. You want that homemade look.

The next step is adding the shadowing. Do this just like we did on the red and white planks.

Now that the planks are finished, just set them on a cake board to dry. It’ll take at least 24 hours.
The next step is the stars coming out of the top of the cake.
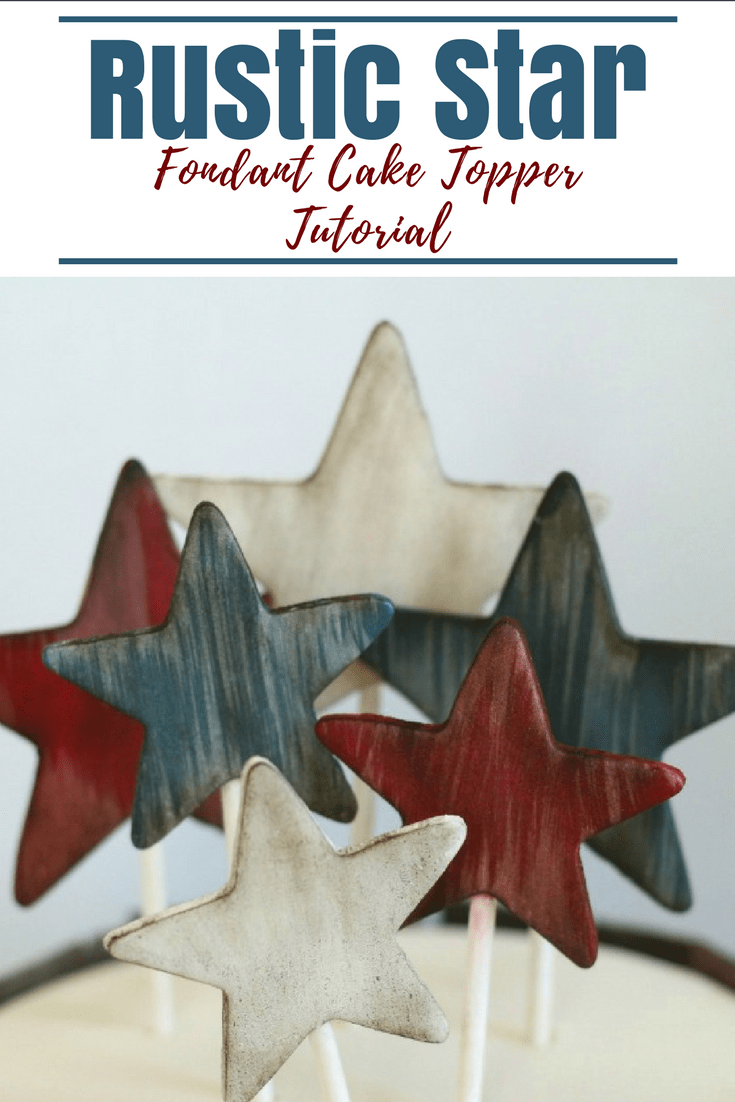
Make the star topper:
Roll out red, white and blue fondant. I used a number zero on my pasta roller. You don’t want these super thin. Cut the star shapes out. I used two different sizes. Lay them flat on a cake board and put a bit of water on the back where you will attach the popsicle stick. Attach the popsicle stick to the back and place a small piece of fondant over it to use as a sort of bandage.

Leave these to dry as they are for at least 24 hours.
After the stars are dry, you’ll want to paint them with their coordinating colors like we did the planks earlier. Don’t forget to add the white streaks and then shadow with the brown petal dust.

Yay! All your pieces are ready now!
At this point you’ll just want to cover your cakes in fondant and stack them.
To add the wooden panels to the cake, I just melted some candy melts and put a line down the middle of each plank and attached to the cake. The planks are not going to curve to the cake (the sides of each wood plank will be straight), but this is the look you’re going for. Wood planks aren’t curved, right? Continue on attaching your panels around the cake on both tiers.
Now take your stars you’ve made and push them into the top of the cake.
That’s it! You’ve made an awesome Rustic 4th of July cake that will impress everyone at your 4th of July celebration!


Don’t forget to subscribe to the blog so you don’t miss any tutorials!
PIN IT HERE! –>

katrina
This is very nice, thanks for the awesome tutorial
Kara Jane
Thanks Katrina!
Chelsea
I am in love with this tutorial! I’m super excited to try it. I’m recreating it for a family 4th of July party this weekend. Thank you so much for this tutorial!
Kara Jane
Oh you’re welcome! I’d love to see how it turns out!
Chelsea
I finished it! And I’m super proud but I’m not sure how to share it to you.
Kara Jane
Wonderful! I’m so glad it worked out 🙂 Wish I could see a picture. I’m not sure it’ll let you upload to the comments here, but if you get time, feel free to post it to my facebook here: https://www.facebook.com/iscreamforbuttercream/ or you can always email it to me at kara@iscreamforbuttercream.com Regardless though, I’m so glad you’re happy with how it turned out!
Bernadette deGonzague
how do you determine the amount of fondant needed for boards per size of cake?
Kara Jane
For covering cake boards, I really just estimate it. I start with a good handful and just roll it out to see if it’s enough to cover the board.
Bernadette Degonzague
I meant for the rustic boards on the side as demonstrated…. thank you.
Kara Jane
Oh! Gotcha. Okay there’s a part in the post where I go over it, but it could easily be missed. I copied it here for ya: “You’ll want to measure the circumference of your bottom tier and top tier separately and figure out how many planks you’ll need to go around each tier and how wide you want them. If you’ve got a fabric measuring tape, you can just measure around the cake, but if you don’t, you can just take the diameter of the cake and multiply by pi.(3.14) (And you thought you’d never use that when you graduated, right?) If you go that route, you’ll want to add a bit…maybe a half inch to your measurement to take into account the thickness of the icing and fondant that’ll be covering the cake. You’ll want to divide that number between the width that you want your planks, so you’ll know how many to make. The width really depends on the look you’re going for…you may want wider or thinner planks than I used.”
Bernadette Degonzague
Yes I saw that but i was wondering what weight of fondant is estimated … I guess if you use the Wilton charts for amount to cover a cake fully in fondant it should be enough. Just wondered if there was a way to estimate total amount needed to ensure having enough of colour needed. Thanks.
Kara Jane
Oh okay…There’s an app that I’ve used called Cake Stacker and it helps to figure out how much fondant for different size tiers. It’s free as well.
Bernadette deGonzague
Thank you!